Start with the whole plate
A plate of rice, protein, and vegetables does not have to hold up your food diary. In Nutrition, you can start with a food photo, review the estimate, adjust the portion, and save it as a meal entry.
The photo starts the process. You still need to check the result, especially when several foods are mixed together or some ingredients are hidden.
1. Prepare a photo you can review
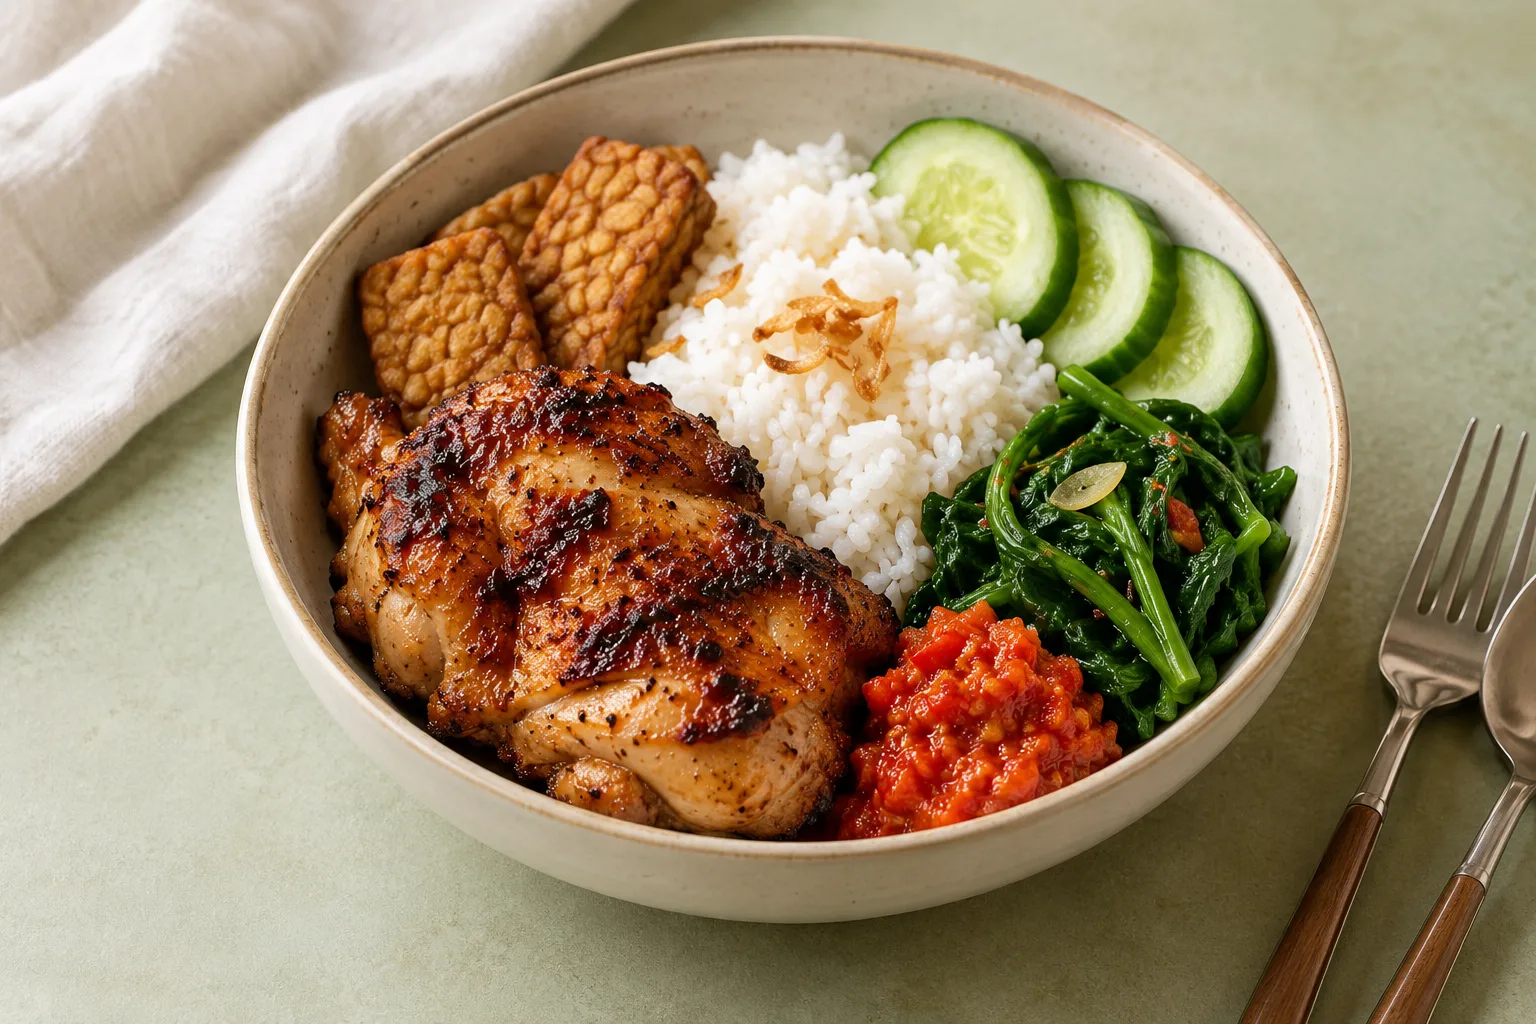
Keep the food you want to log in the frame. Aim for enough light and avoid covering the food with other objects. For a plate of rice, chicken, tempeh, and vegetables, try to make each main part visible.
Sauces, cooking oil, or ingredients inside a dish can be difficult to identify from its appearance. If the scan flow offers an additional description, use information you actually know about the meal.
A clearer photo helps with reviewing the result. It does not turn a scan into an exact measurement.
2. Review the scan result
When the analysis is complete, check the food name, listed ingredients, portion, and calorie and macro estimates. Compare the result with what is on your plate.
Three questions can help:
- Does the food name describe the dish you photographed?
- Do the main listed ingredients make sense for that food?
- Does the portion you are about to log match roughly how much you ate?
The current review screen lets you adjust the portion for the scan as a whole. The ingredients list helps you check the result; this guide does not assume that each ingredient can be edited separately on that screen.
3. Adjust the portion to what you ate
Check the portion reference shown, then use the portion choices or input on the review screen. For example, if the scan represents a full plate but you ate half of it, consider whether logging half a portion makes sense for your dish.
Changing the portion adjusts the calorie and macro estimates from the scan. It does not measure each ingredient again. If the recognized food is very different from your photo, changing the portion alone may not fix the result. Consider taking another photo or scanning again.
The numbers are estimates to help with logging. A single photo is not proof of an exact calorie amount.
4. Save and check your daily log
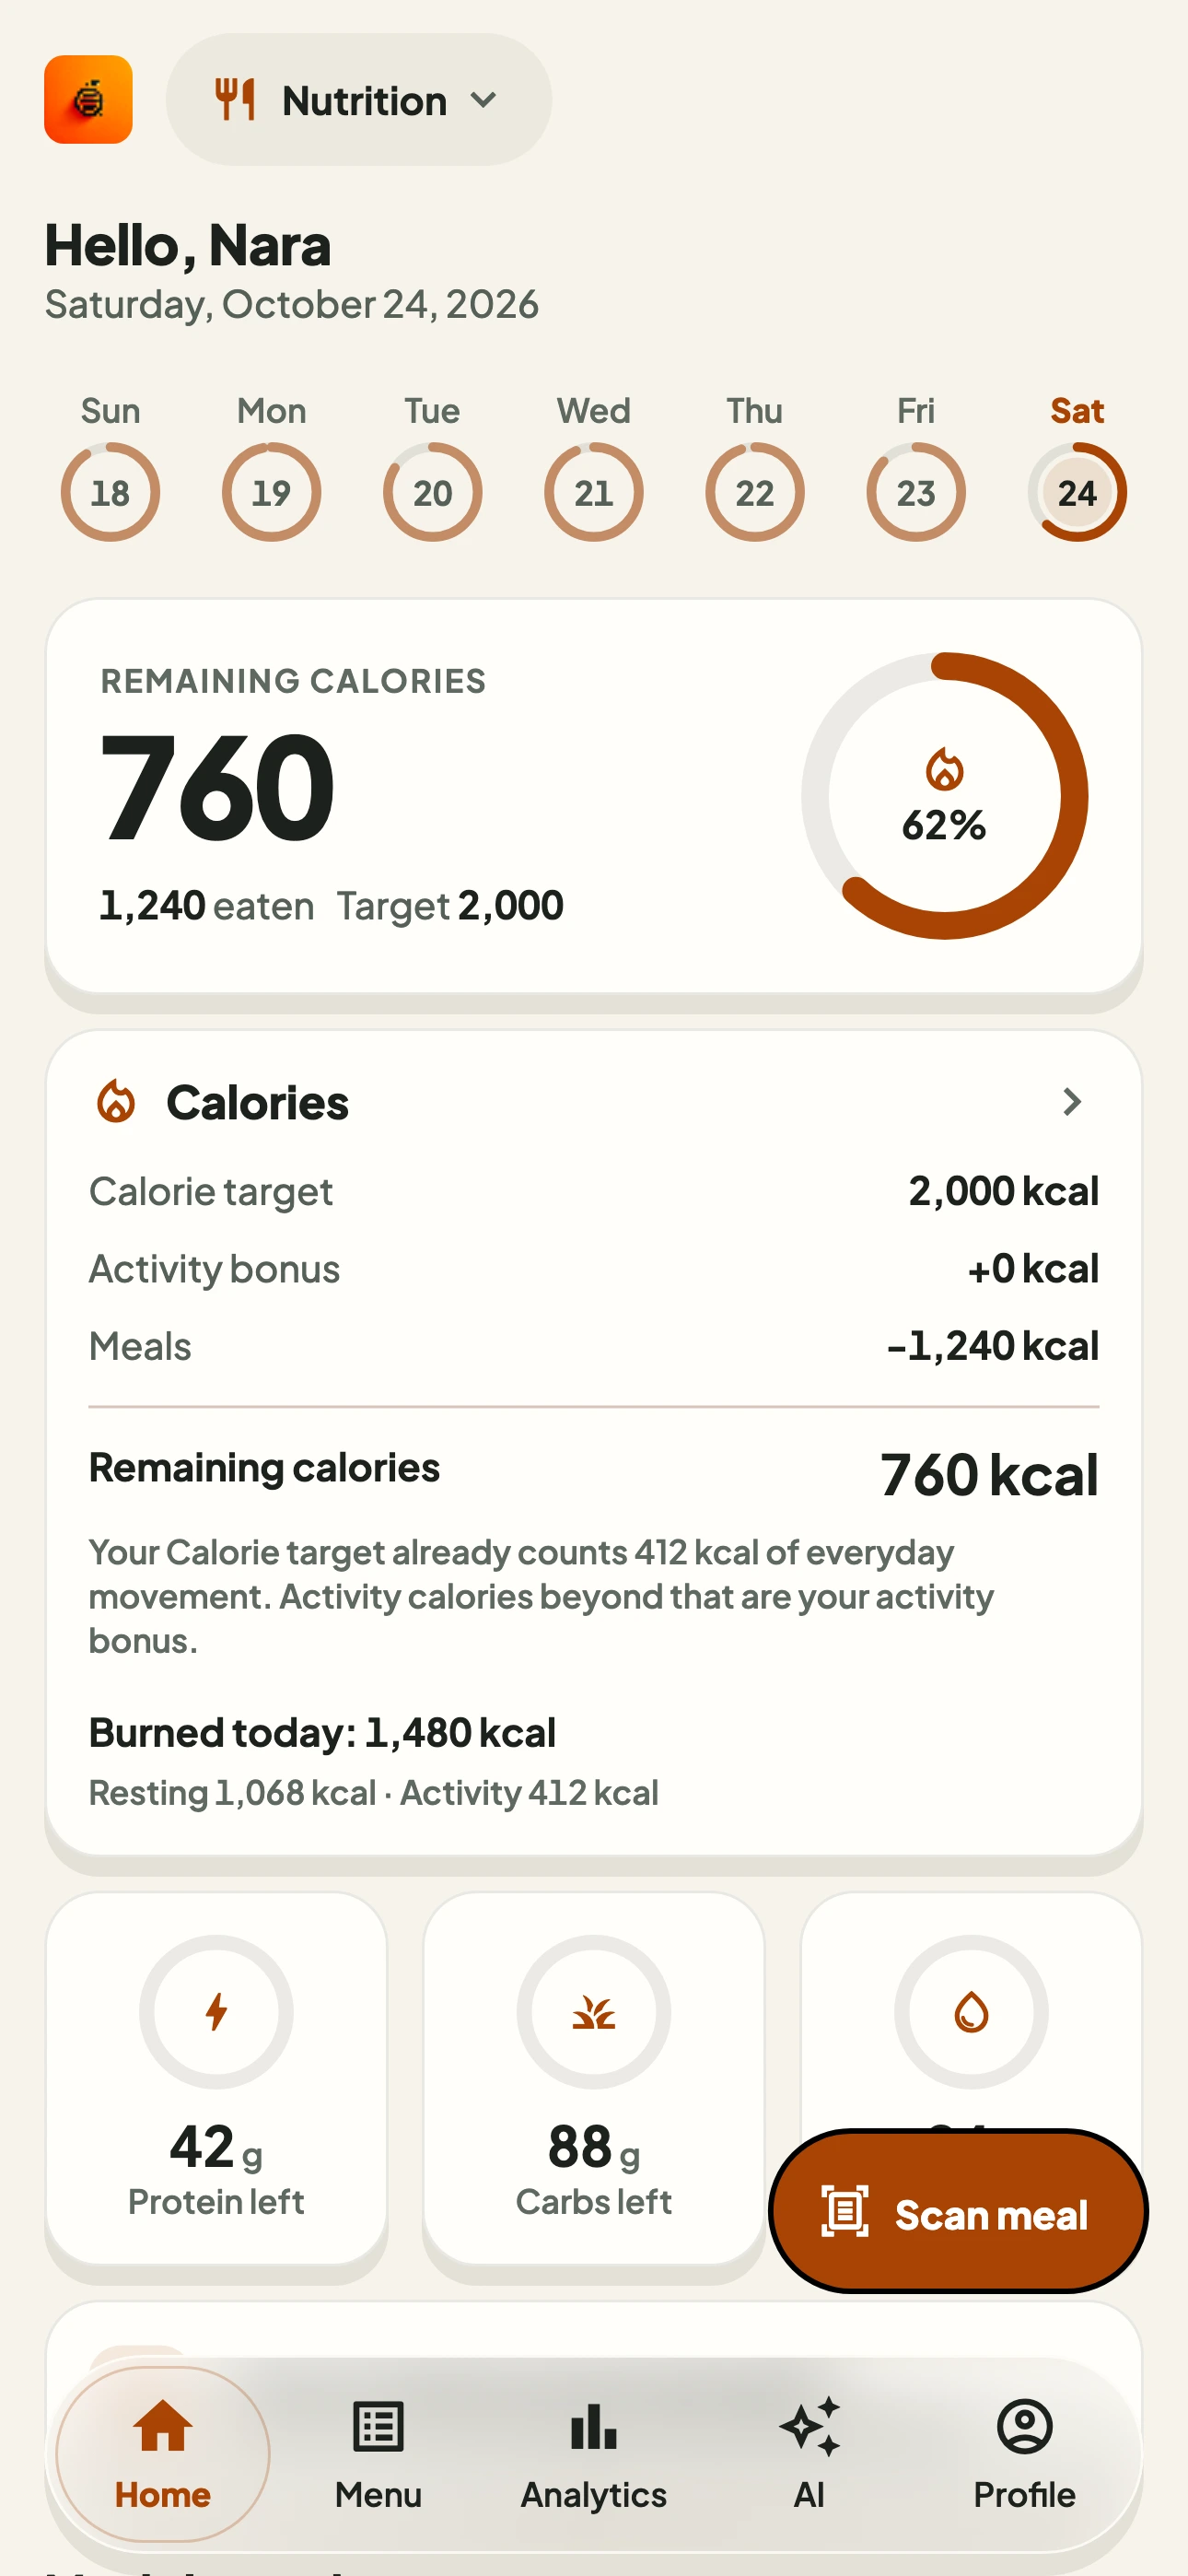
Select Save after reviewing the result. Wait for saving to finish, then check for the meal in Nutrition Home.
A scan result and a saved meal are different stages. Seeing the analysis does not mean the meal has been saved. If saving fails, check the message and try again; do not assume an entry exists just because the photo was analyzed.
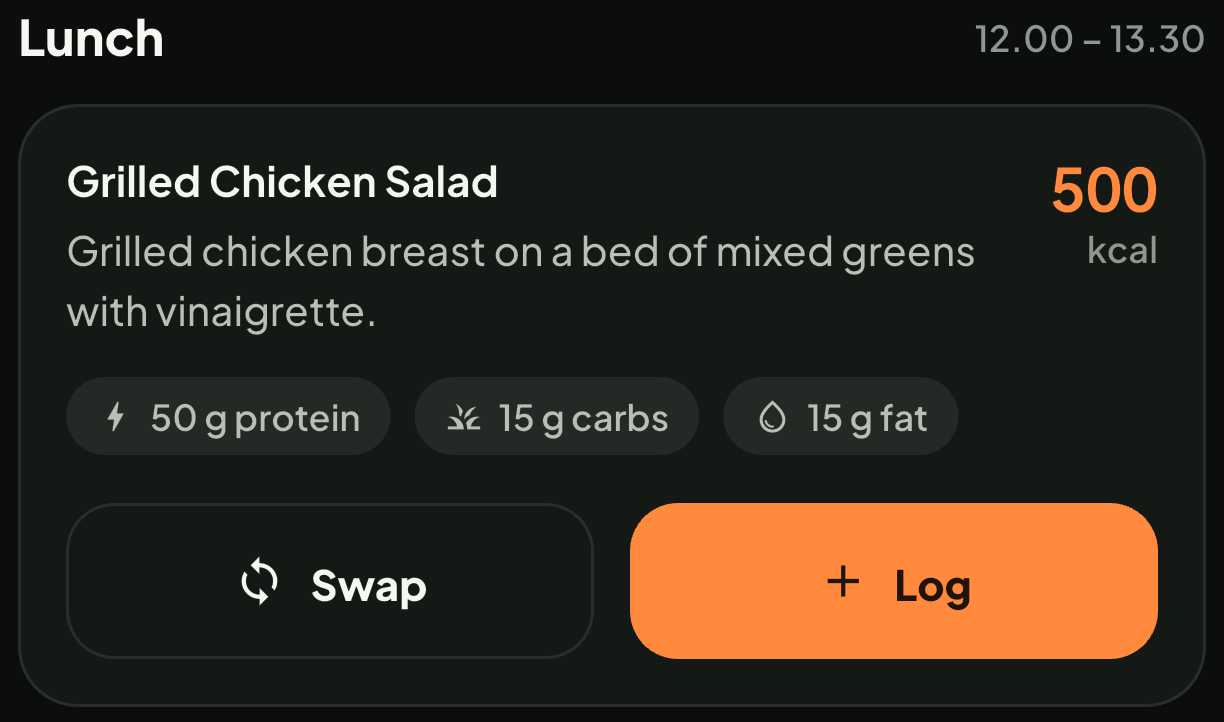
The screen below shows a sample Nutrition Home overview. It is not the scan review screen, and its numbers are example data.
If you need to correct an entry
Open a saved meal to check its name and portion again. The meal edit page supports changing the name and portion; save again after making your changes.
Start with entries you can review and keep up with. This flow helps you record what you ate with useful context, without promising a particular health outcome.
See the Nourri Nutrition guide for more about food logging and your daily overview.